

A super fun and easy DIY activity to brighten up your dull afternoons and bring back the smile!
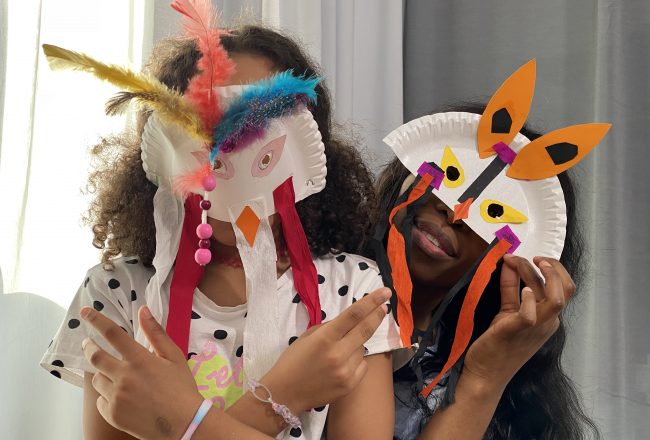
It’s carnival season here in Bavaria. Our little artist Franziska created these masks at her school. I think they are great and I offered her to do a little tutorial for us.
It’s very easy, very playful and it will allow you to do some role playing and to dress up afterwards.

How to use paper plates and turn them into meaningful objects?
Required Tools:
– Paper plates
– Liquid glue or Stick glue
– Paintbrushes for the liquid glue
– All kind of colored creative papers
– feathers and pearls
– Liquid glue or Stick glue
– Paintbrushes for the liquid glue
– All kind of colored creative papers
– feathers and pearls
– Scissors
– Stickers, Confetti, Glitter….and all kind of craft decorations you like
– Pencil
– Ruler
– An elastic rope to close the mask around the head
– Pencil
– Ruler
– An elastic rope to close the mask around the head
Things Needed?
– At least 1 child
– 1 motivated adult
– Letting go
– 1 motivated adult
– Letting go
– Warm tea
– Funny music
– Cookies
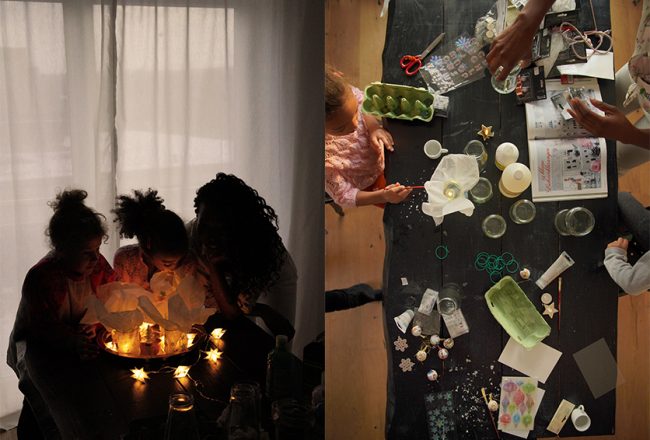
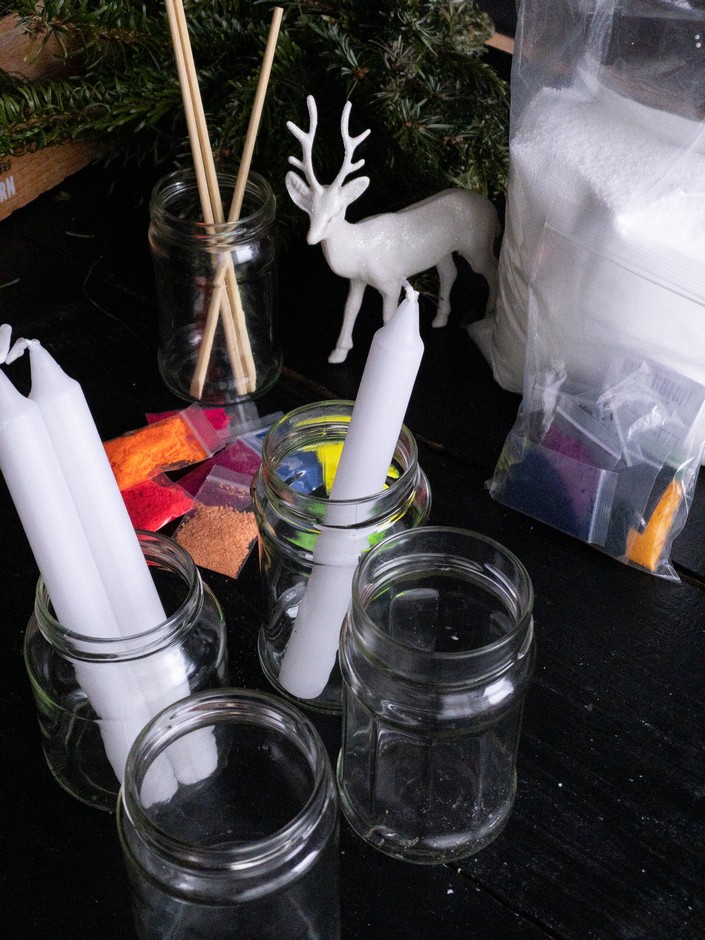
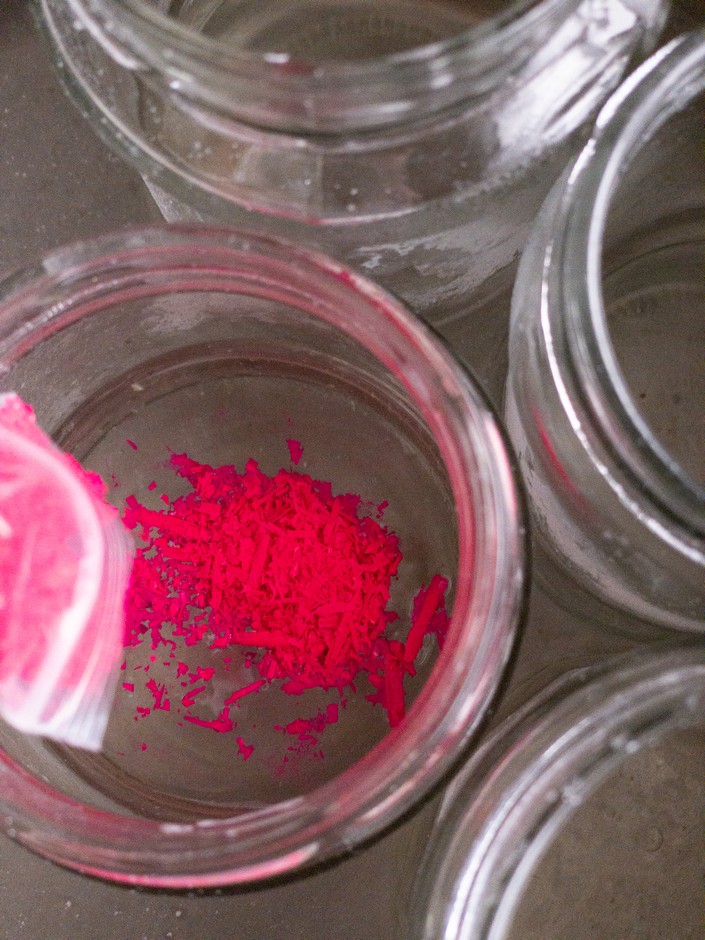
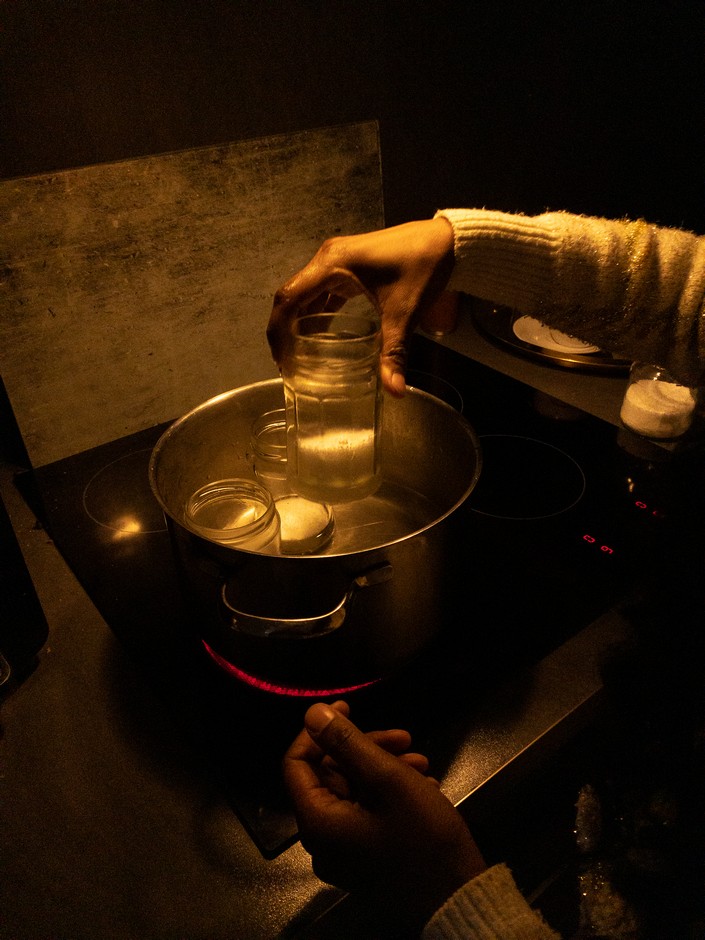
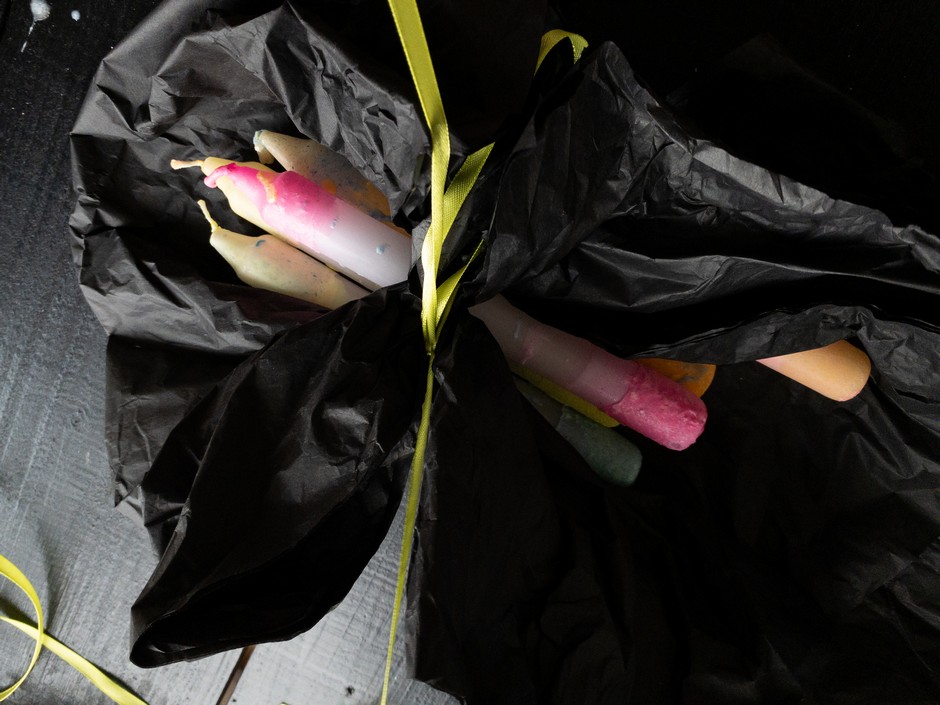
Steps to create poetical Lanterns